QR codes make sharing information faster, easier, and far more engaging, especially when paired with tools like Google Forms.
QR codes make sharing information faster, easier, and far more engaging, especially when paired with tools like Google Forms.
Whether you're collecting RSVPs, feedback, signups, or survey responses, the power of QR codes can simplify how people reach your form. Instead of typing out long links, your audience just scans and responds on the go.
This blog will analyze the entire process of generating a QR code specifically for a Google Form. The goal is to help make your forms more accessible, whether they're printed on flyers, added to a slide deck, or included in physical product packaging.
By the end, you’ll know how to create the code and prepare your form, avoid common mistakes, and make the most of tools like Tnye for customization and analytics.
It's all about making your forms work smarter, not harder, while keeping user experience front and center.
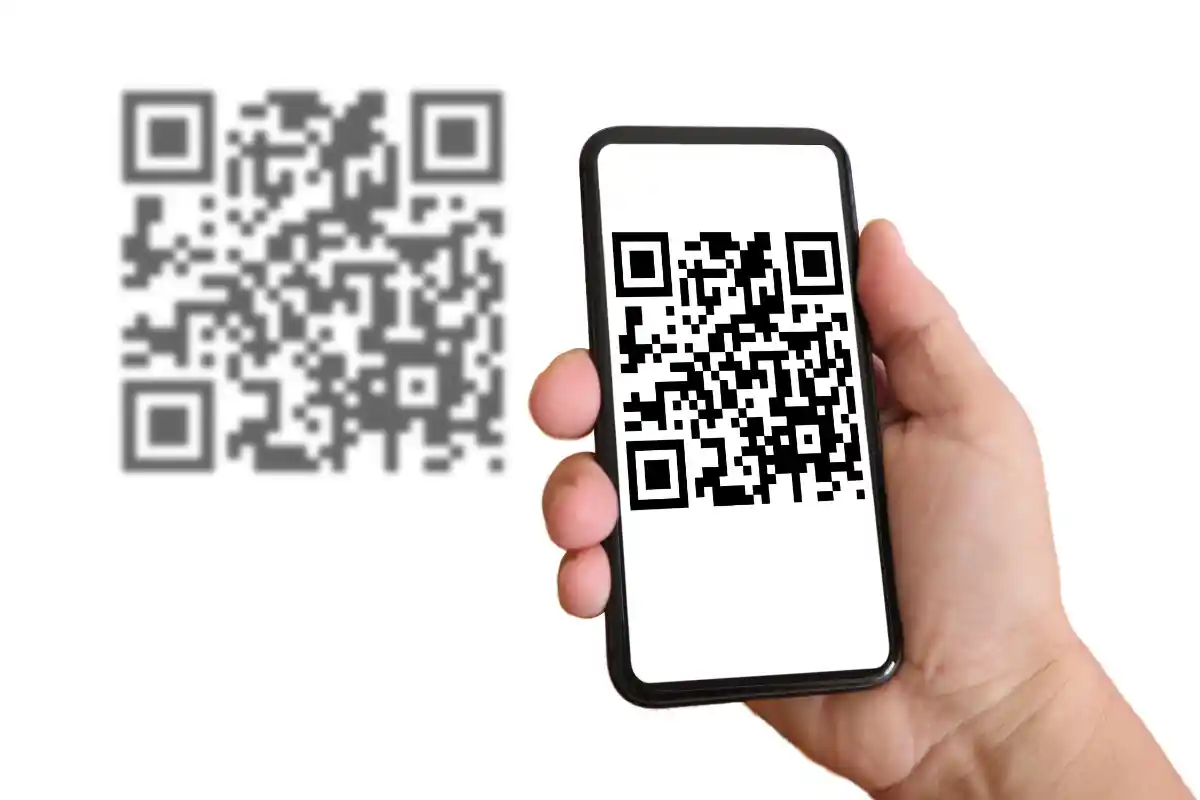
Why Use a QR Code for a Google Form?
Using a QR code for a Google Form gives your audience a faster, easier way to access your content, especially on mobile. No more typing long, clunky URLs. A quick scan is all it takes.
This can be especially useful in real-world settings like trade shows, events, restaurants, or physical stores where digital access isn't immediate. Adding a QR code to a brochure, display stand, or poster can lead directly to sign-up forms, surveys, or feedback requests.
It also helps improve engagement. People are more likely to respond if you make things convenient for them. QR codes remove friction from the process, helping boost completion rates.
For business owners, QR codes offer a bridge between the physical and digital worlds. When paired with trackable URLs, you can even monitor performance, seeing how many scans led to responses.
So, you're not just making it easier for your audience; you're also gathering smart insights to optimize future campaigns.
Preparing Your Google Form for Sharing
Before generating the QR code, it’s important to get your Google Form ready. A few quick checks will ensure that it’s accessible, functional, and optimized for your audience. These small steps can help prevent broken links and frustrated users later on.
- Finalize the Content: Double-check your questions, formatting, and logic. Make sure everything is clear and flows well.
- Set the Right Permissions: In the top-right corner, click “Send,” then select the gear icon. Choose whether to restrict access to certain emails or allow public responses.
- Enable Mobile Compatibility: Google Forms are mobile-friendly by default, but test your form on a phone or tablet to be sure.
- Shorten the Link (Optional): If you'd like to create a shorter version before generating the QR code, copy the full form URL and shorten it using a tool like Tnye.
- Copy the Shareable URL: Click “Send,” then the link icon, and copy the full Google Form URL. This is what you’ll paste into the QR generator.
- Test the Link: Open the copied link in a new browser window or on a mobile device to ensure it works as expected.
Privacy Considerations When Sharing Google Forms via QR Codes
While QR codes are convenient, it’s important to think about privacy, especially when your form collects user data. Here are some key considerations to keep in mind before sharing.
- Review What Data You’re Collecting: Avoid asking for sensitive personal info unless absolutely necessary. Stick to names, emails, or basic responses unless you have a strong reason.
- Set Permissions Thoughtfully: If you're collecting internal feedback, limit access to users within your organization. If it's public-facing, make sure "Anyone with the link can respond" is enabled.
- Inform Users of How Their Data Will Be Used: Include a brief privacy statement or consent checkbox in your form to stay transparent and build trust.
- Disable Response Editing and Email Collection Unless Needed: These features can complicate privacy compliance if not used correctly.
- Avoid Tracking Users without Disclosure: If you're using shortened URLs with analytics, make it clear that data such as scan rates may be collected.
- Comply with Local Privacy Laws: Depending on your location, you may need to follow laws like GDPR or CCPA, especially if you’re gathering user-identifiable information.
Step-by-Step Guide to Creating a QR Code for a Google Form
Once your Google Form is polished and ready to go, it’s time to make it scannable. This step-by-step guide walks through the entire process of turning your form into a functional QR code that’s easy to share and track.
Step 1: Copy the Google Form Link
Begin by opening your Google Form and clicking the "Send" button in the page's top-right corner. A pop-up will appear with multiple sharing options. Choose the link icon that resembles a chain to generate the form’s direct URL.
Click “Copy” to save the link to your clipboard. This link will be the core of your QR code, so make sure it's the final, published version of your form.
Step 2: (Optional) Shorten the Link Using Tnye
While you can use the long Google Form URL, shortening it offers several advantages. Head over to Tnye and paste the copied link into the input field. Tnye will generate a clean, shortened version of your form URL within seconds.
A shortened link will result in a simpler, less dense QR code that’s easier to scan, especially on smaller print materials. It can also give you access to scan analytics, which is incredibly useful if you want to measure engagement.
Step 3: Access a QR Code Generator
Once you have your final link (either the original or the Tnye-shortened version), it’s time to create the QR code itself. Open a trusted QR code generator that doesn’t embed ads or unnecessary redirects.
Since Tnye offers QR code creation as part of its services, using it can keep the workflow streamlined and secure. If you want your QR code to align with your branding, ensure the generator allows customization.
Step 4: Paste Your Link and Confirm
Paste the link into the QR code generator’s input box. Double-check that there are no typos or accidental spaces at the beginning or end of the link.
Even a tiny error here can result in a broken QR code that leads users nowhere. Once you’ve confirmed everything looks right, proceed to the next step.
Step 5: Customize the Design (Optional)
Many QR generators let you change the color, shape, or even embed a logo into the QR code. Customizing the design can help your code stand out, especially if it’s going on printed materials or digital banners.
That said, avoid making it too fancy. Over-designing can interfere with its readability. Stick to high-contrast colors and always test the final look before publishing.
Step 6: Download the QR Code in High Resolution
After you’ve finalized the design, generate the QR code and download it. Select a high-resolution format such as PNG or SVG.
It will ensure that your QR code remains clear and scannable, whether you’re printing it on a tiny flyer or a massive poster. Low-resolution images often blur when resized, causing scanning issues.
Step 7: Test the QR Code Across Devices
Finally, test the code using multiple devices (both Android and iOS) if possible. Make sure it loads your Google Form instantly and displays properly on different screen sizes. Only after this test should you move forward with distribution.
Best Practices for Using the QR Code
To make the most of your Google Form QR code, it's important to apply a few practical strategies. These best practices can help improve visibility, scanning rates, and user experience.
- To increase the chances of being scanned, place the QR code in high-traffic areas, such as near entrances, on packaging, or at event booths.
- Next to the QR code, use a clear call to action, such as “Scan to Fill Out Our Survey” or “Register Here.”
- Ensure the QR code is printed or displayed at a size that’s easy to scan from a reasonable distance.
- Stick to high-contrast color combinations so the code stands out and is easily read by scanning devices.
- Test the code under different lighting conditions before going live, especially if it’s part of printed material or signage.
- Avoid placing the code on curved surfaces, overly textured backgrounds, or near corners where people may miss it.
- Monitor engagement data through your shortened link provider if analytics are important for your campaign.
- Regularly check the form link for changes or errors to ensure the QR code remains active and relevant.
Conclusion
Creating a QR code for your Google Form doesn’t require much time, but it does require care and clarity. When used correctly, it can streamline how people interact with your forms, making surveys, event sign-ups, or contact collection effortless.
As a business owner, you want things to work smoothly, and a properly made QR code does exactly that. From choosing the right link format to ensuring solid placement and testing, every small step counts.
Stay mindful of privacy settings, track performance when possible, and always consider the user experience.